Table of Contents
1. Install
Installation
To install MkDocs, run the following command from the command line:
pip install mkdocs
For more details, see the Installation Guide.
Creating a new project
Getting started is super easy. To create a new project, run the following command from the command line:
mkdocs new my-project
cd my-project
Take a moment to review the initial project that has been created for you.
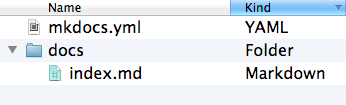
There’s a single configuration file named mkdocs.yml, and a folder named docs that will contain your documentation source files (docs is the default value for the docs_dir configuration setting). Right now the docs folder just contains a single documentation page, named index.md.
MkDocs comes with a built-in dev-server that lets you preview your documentation as you work on it. Make sure you’re in the same directory as the mkdocs.yml configuration file, and then start the server by running the mkdocs serve command:
$ mkdocs serve
INFO    -  Building documentation...
INFO    -  Cleaning site directory
[I 160402 15:50:43 server:271] Serving on http://127.0.0.1:8000
[I 160402 15:50:43 handlers:58] Start watching changes
[I 160402 15:50:43 handlers:60] Start detecting changes
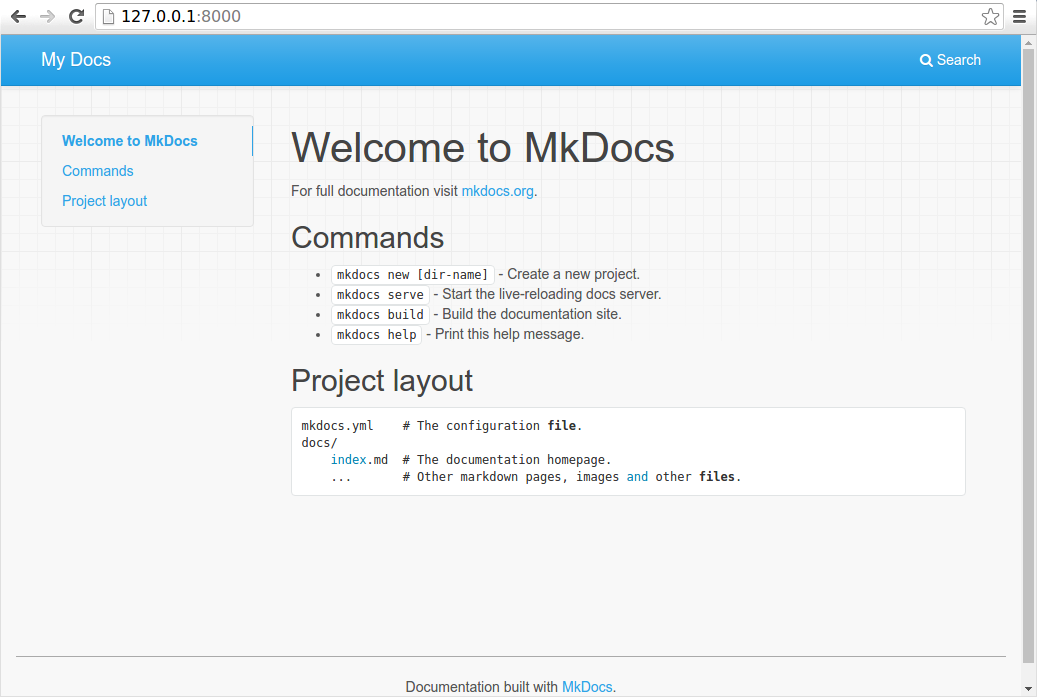
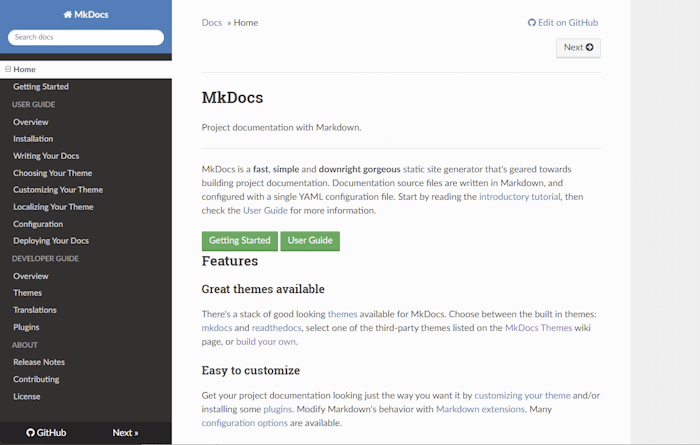
Open up http://127.0.0.1:8000/ in your browser, and you’ll see the default home page being displayed:
The dev-server also supports auto-reloading, and will rebuild your documentation whenever anything in the configuration file, documentation directory, or theme directory changes.
Open the docs/index.md document in your text editor of choice, change the initial heading to MkLorum, and save your changes. Your browser will auto-reload and you should see your updated documentation immediately.
Now try editing the configuration file: mkdocs.yml. Change the site_name setting to MkLorum and save the file.
site_name: MkLorum
site_url: https://example.com/
Your browser should immediately reload, and you’ll see your new site name take effect.

Note
The site_name and site_url configuration options are the only two required options in your configuration file. When you create a new project, the site_url option is assigned the placeholder value: https://example.com. If the final location is known, you can change the setting now to point to it. Or you may choose to leave it alone for now. Just be sure to edit it before you deploy your site to a production server.
Adding pages
Now add a second page to your documentation:
curl 'https://jaspervdj.be/lorem-markdownum/markdown.txt' > docs/about.md
As our documentation site will include some navigation headers, you may want to edit the configuration file and add some information about the order, title, and nesting of each page in the navigation header by adding a nav setting:
site_name: MkLorum
site_url: https://example.com/
nav:
    - Home: index.md
    - About: about.md
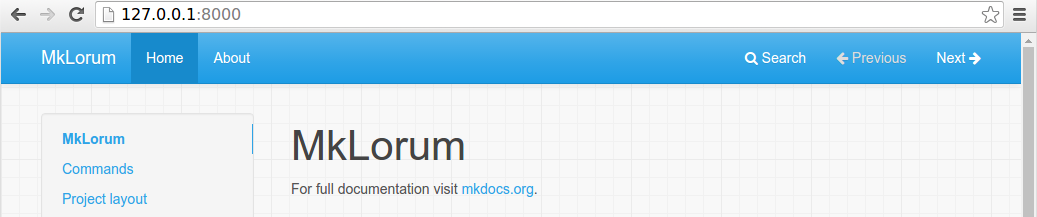
Save your changes and you’ll now see a navigation bar with Home and About items on the left as well as Search, Previous, and Next items on the right.
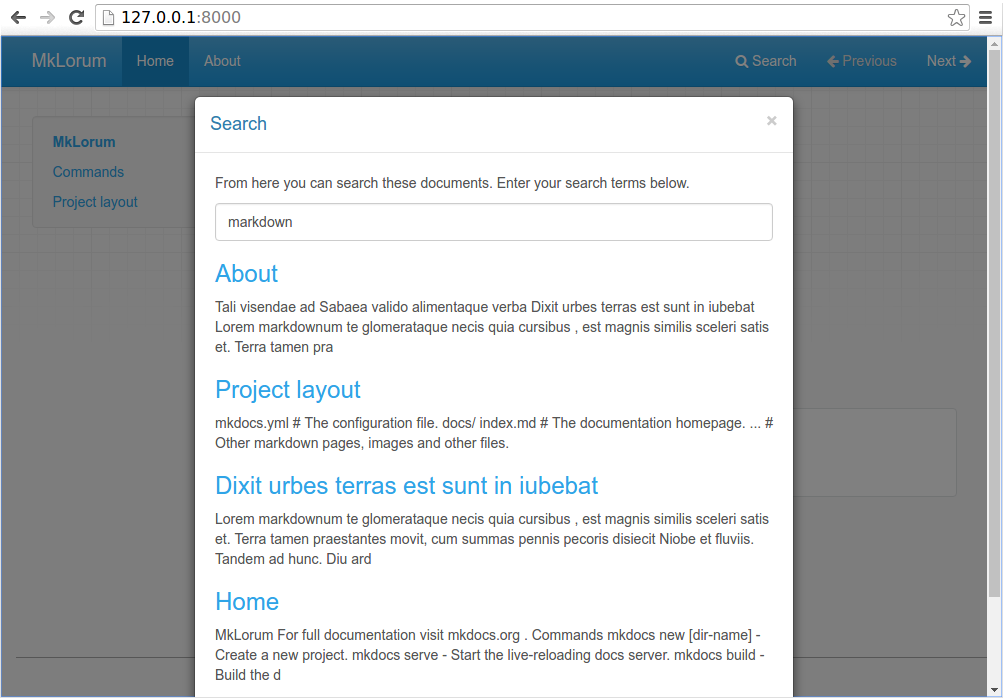
Try the menu items and navigate back and forth between pages. Then click on Search. A search dialog will appear, allowing you to search for any text on any page. Notice that the search results include every occurrence of the search term on the site and links directly to the section of the page in which the search term appears. You get all of that with no effort or configuration on your part!
Theming our documentation
Now change the configuration file to alter how the documentation is displayed by changing the theme. Edit the mkdocs.yml file and add a theme setting:
site_name: MkLorum
site_url: https://example.com/
nav:
    - Home: index.md
    - About: about.md
theme: readthedocs
Save your changes, and you’ll see the ReadTheDocs theme being used.
Changing the Favicon Icon
By default, MkDocs uses the MkDocs favicon icon. To use a different icon, create an img subdirectory in the docs directory and copy your custom favicon.ico file to that directory. MkDocs will automatically detect and use that file as your favicon icon.
Building the site
That’s looking good. You’re ready to deploy the first pass of your MkLorum documentation. First build the documentation:
mkdocs build
This will create a new directory, named site. Take a look inside the directory:
$ ls site
about  fonts  index.html  license  search.html
css    img    js          mkdocs   sitemap.xml
Notice that your source documentation has been output as two HTML files named index.html and about/index.html. You also have various other media that’s been copied into the site directory as part of the documentation theme. You even have a sitemap.xml file and mkdocs/search_index.json.
If you’re using source code control such as git you probably don’t want to check your documentation builds into the repository. Add a line containing site/ to your .gitignore file.
echo "site/" >> .gitignore
If you’re using another source code control tool you’ll want to check its documentation on how to ignore specific directories.
Other Commands and Options
There are various other commands and options available. For a complete list of commands, use the --help flag:
mkdocs --help
To view a list of options available on a given command, use the --help flag with that command. For example, to get a list of all options available for the build command run the following:
mkdocs build --help
Deploying
The documentation site that you just built only uses static files so you’ll be able to host it from pretty much anywhere. Simply upload the contents of the entire site directory to wherever you’re hosting your website from and you’re done. For specific instructions on a number of common hosts, see the Deploying your Docs page.
Getting help
See the User Guide for more complete documentation of all of MkDocs’ features.
To get help with MkDocs, please use the GitHub discussions or GitHub issues.
2. Deploying your docs
GitHub Pages
If you host the source code for a project on GitHub, you can easily use GitHub Pages to host the documentation for your project. There are two basic types of GitHub Pages sites: Project Pages sites, and User and Organization Pages sites. They are nearly identical but have some important differences, which require a different work flow when deploying.
Project Pages
Project Pages sites are simpler as the site files get deployed to a branch within the project repository (gh-pages by default). After you checkout the primary working branch (usually master) of the git repository where you maintain the source documentation for your project, run the following command:
mkdocs gh-deploy
That’s it! Behind the scenes, MkDocs will build your docs and use the ghp-import tool to commit them to the gh-pages branch and push the gh-pages branch to GitHub.
Use mkdocs gh-deploy --help to get a full list of options available for the gh-deploy command.
Be aware that you will not be able to review the built site before it is pushed to GitHub. Therefore, you may want to verify any changes you make to the docs beforehand by using the build or serve commands and reviewing the built files locally.
Warning
You should never edit files in your pages repository by hand if you’re using the gh-deploy command because you will lose your work the next time you run the command.
Organization and User Pages
User and Organization Pages sites are not tied to a specific project, and the site files are deployed to the master branch in a dedicated repository named with the GitHub account name. Therefore, you need working copies of two repositories on our local system. For example, consider the following file structure:
my-project/
    mkdocs.yml
    docs/
orgname.github.io/
After making and verifying updates to your project you need to change directories to the orgname.github.io repository and call the mkdocs gh-deploy command from there:
cd ../orgname.github.io/
mkdocs gh-deploy --config-file ../my-project/mkdocs.yml --remote-branch master
Note that you need to explicitly point to the mkdocs.yml configuration file as it is no longer in the current working directory. You also need to inform the deploy script to commit to the master branch. You may override the default with the remote_branch configuration setting, but if you forget to change directories before running the deploy script, it will commit to the master branch of your project, which you probably don’t want.
Be aware that you will not be able to review the built site before it is pushed to GitHub. Therefore, you may want to verify any changes you make to the docs beforehand by using the build or serve commands and reviewing the built files locally.
Warning
You should never edit files in your pages repository by hand if you’re using the gh-deploy command because you will lose your work the next time you run the command.
Custom Domains
GitHub Pages includes support for using a Custom Domain for your site. In addition to the steps documented by GitHub, you need to take one additional step so that MkDocs will work with your custom domain. You need to add a CNAME file to the root of your docs_dir. The file must contain a single bare domain or subdomain on a single line (see MkDocs’ own CNAME file as an example). You may create the file manually, or use GitHub’s web interface to set up the custom domain (under Settings / Custom Domain). If you use the web interface, GitHub will create the CNAME file for you and save it to the root of your “pages” branch. So that the file does not get removed the next time you deploy, you need to copy the file to your docs_dir. With the file properly included in your docs_dir, MkDocs will include the file in your built site and push it to your “pages” branch each time you run the gh-deploy command.
If you are having problems getting a custom domain to work, see GitHub’s documentation on Troubleshooting custom domains.
Read the Docs
Read the Docs offers free documentation hosting. You can import your docs using any major version control system, including Mercurial, Git, Subversion, and Bazaar. Read the Docs supports MkDocs out-of-the-box. Follow the instructions on their site to arrange the files in your repository properly, create an account and point it at your publicly hosted repository. If properly configured, your documentation will update each time you push commits to your public repository.
Note
To benefit from all of the features offered by Read the Docs, you will need to use the Read the Docs theme which ships with MkDocs. The various themes which may be referenced in Read the Docs’ documentation are Sphinx specific themes and will not work with MkDocs.
Other Providers
Any hosting provider which can serve static files can be used to serve documentation generated by MkDocs. While it would be impossible to document how to upload the docs to every hosting provider out there, the following guidelines should provide some general assistance.
When you build your site (using the mkdocs build command), all of the files are written to the directory assigned to the site_dir configuration option (defaults to "site") in your mkdocs.yaml config file. Generally, you will simply need to copy the contents of that directory to the root directory of your hosting provider’s server. Depending on your hosting provider’s setup, you may need to use a graphical or command line ftp, ssh or scp client to transfer the files.
For example, a typical set of commands from the command line might look something like this:
mkdocs build
scp -r ./site user@host:/path/to/server/root
Of course, you will need to replace user with the username you have with your hosting provider and host with the appropriate domain name. Additionally, you will need to adjust the /path/to/server/root to match the configuration of your hosts’ file system.
See your host’s documentation for specifics. You will likely want to search their documentation for “ftp” or “uploading site”.
Local Files
Rather than hosting your documentation on a server, you may instead distribute the files directly, which can then be viewed in a browser using the file:// scheme.
Note that, due to the security settings of all modern browsers, some things will not work the same and some features may not work at all. In fact, a few settings will need to be customized in very specific ways.
-
The
site_urlmust be set to an empty string, which instructs MkDocs to build your site so that it will work with thefile://scheme.site_url: "" -
Set
use_directory_urlstofalse. Otherwise, internal links between pages will not work properly.use_directory_urls: false -
You will need to either disable the search plugin, or use a third-party search plugin which is specifically designed to work with the
file://scheme. To disable all plugins, set thepluginssetting to an empty list.plugins: []If you have other plugins enabled, simply ensure that
searchis not included in the list.
When writing your documentation, it is imperative that all internal links use relative URLs as documented. Remember, each reader of your documentation will be using a different device and the files will likely be in a different location on that device.
If you expect your documentation to be viewed off-line, you may also need to be careful about which themes you choose. Many themes make use of CDNs for various support files, which require a live Internet connection. You will need to choose a theme which includes all support files directly in the theme.
When you build your site (using the mkdocs build command), all of the files are written to the directory assigned to the site_dir configuration option (defaults to "site") in your mkdocs.yaml config file. Generally, you will simply need to copy the contents of that directory and distribute it to your readers. Alternatively, you may choose to use a third party tool to convert the HTML files to some other documentation format.
404 Pages
When MkDocs builds the documentation it will include a 404.html file in the build directory. This file will be automatically used when deploying to GitHub but only on a custom domain. Other web servers may be configured to use it but the feature won’t always be available. See the documentation for your server of choice for more information.